
 2022-12-07
Samba – installation and configuration on EuroLinux Desktop
Samba is a free file and printer server that uses the SMB (Server Message Block) protocol. It allows you to create a mixed environment where Windows and Linux computers can use each other’s resources. In this article we will show you how to install and use Samba.
Samba is a free file and printer server that uses the SMB (Server Message Block) protocol. It allows you to create a mixed environment where Windows and Linux computers can use each other’s resources. In this article we will show you how to install and use Samba.
Samba’s main tasks are file and printer sharing, password synchronization between Linux and Windows, as well as support for WINS (Internet name server), SSL, login server for Windows networks, OpLock and LDAP.
Installing Samba
To install Samba, run the installation command:
sudo dnf install -y samba samba-common samba-clientand activate Samba’s systemd service:
sudo systemctl enable --now smbNow Samba should work properly and start right after the machine starts.
Creating a share
The share should be created in the /samba/public directory (in the root directory of the system):
sudo mkdir -p /samba/publicNow you can give the share the appropriate permissions with the following commands:
sudo chmod -R 755 /samba/public
sudo chown -R nobody:nobody /samba/public
sudo chcon -t samba_share_t /samba/public
Next, create the appropriate share by editing the /etc/samba/smb.conf file and at the bottom of it adding the following:
[Public]
path = /samba/public
browseable = yes
public = yes
read only = no
writable = yes
guest only = yes
force create mode = 0666
force directory mode = 0777
The next step is to save and close the file and restart Samba with the command:
sudo systemctl restart smbFirewall handling
In order for Samba to be available in the network environment, you need to add the service to the firewall. First, you need to create a new firewall rule using the command:
sudo firewall-cmd --add-service=samba --zone=public --permanentNext, restart the firewall using the command:
sudo firewall-cmd --reloadand check the status of the service:
systemctl status smbAt this point, the Samba share should be accessible from other machines on the network. With the above configuration, even anonymous users will have access to the share – both in read and write mode.
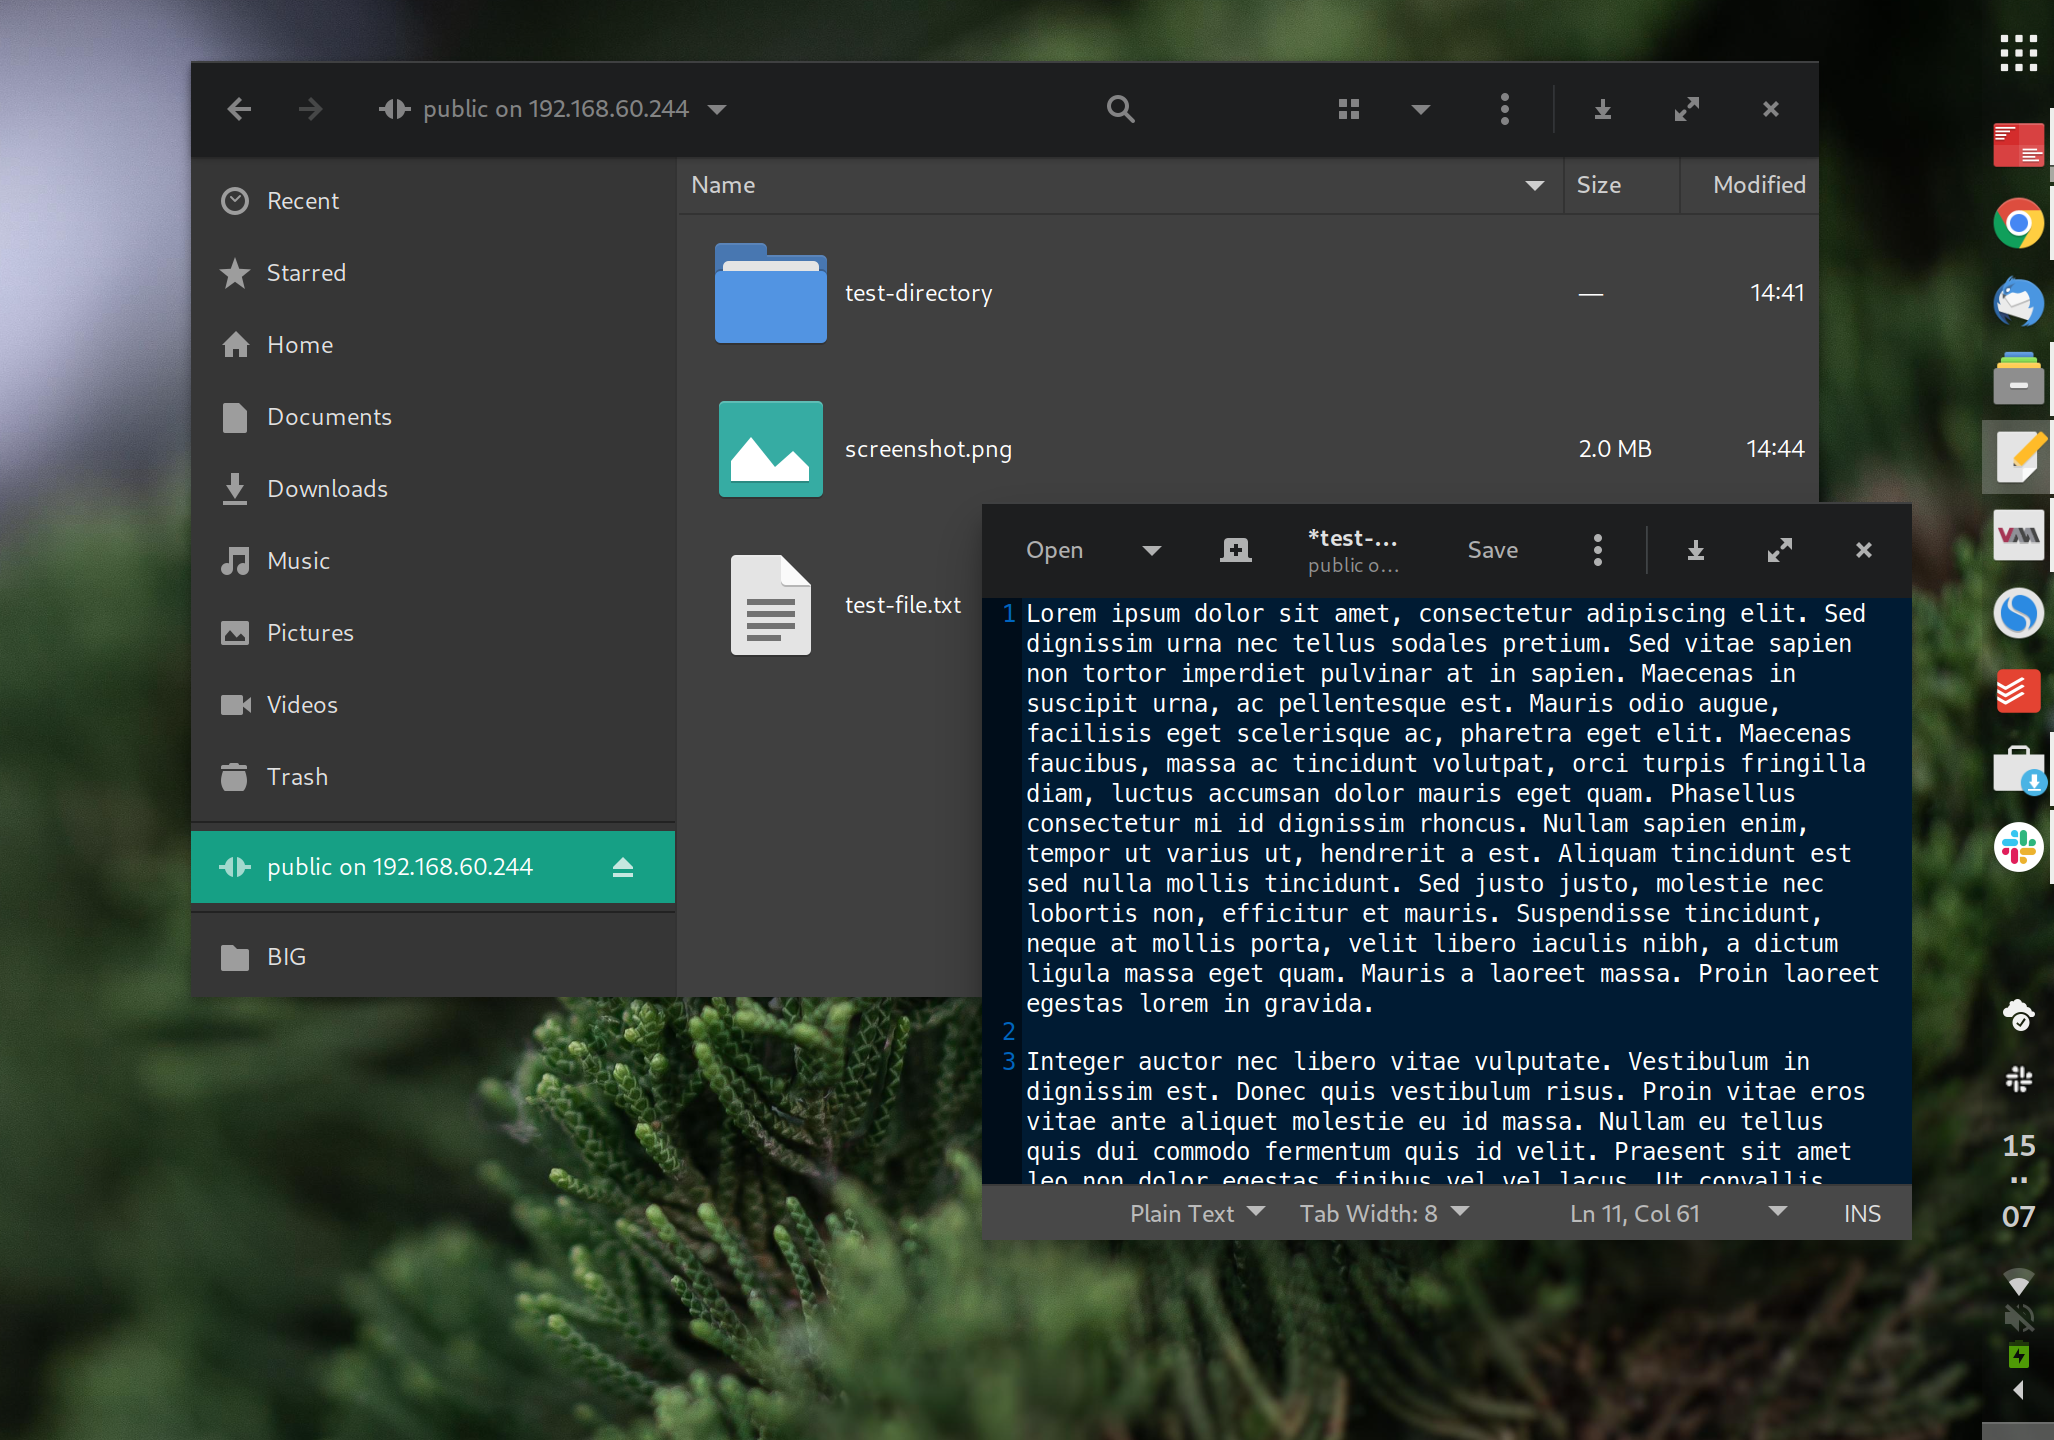
Samba share on GNU/Linux:
Accessing a Samba share from within Windows
Aby uzyskać dostęp do udziału Samby z komputera z systemem Windows, należy wcisnąć klawisz logo Windows + R. Następnie należy uruchomić okno dialogowe Uruchom i wprowadzić adres IP serwera Samby, poprzedzając go znakami \\, czyli np.: \\192.168.0.12.
To access the Samba share from a Windows computer, press the Windows logo key + R. Then launch the Run dialog box and enter the IP address of the Samba server, prefixing it with the characters \\ i.e.: \\192.168.0.12.
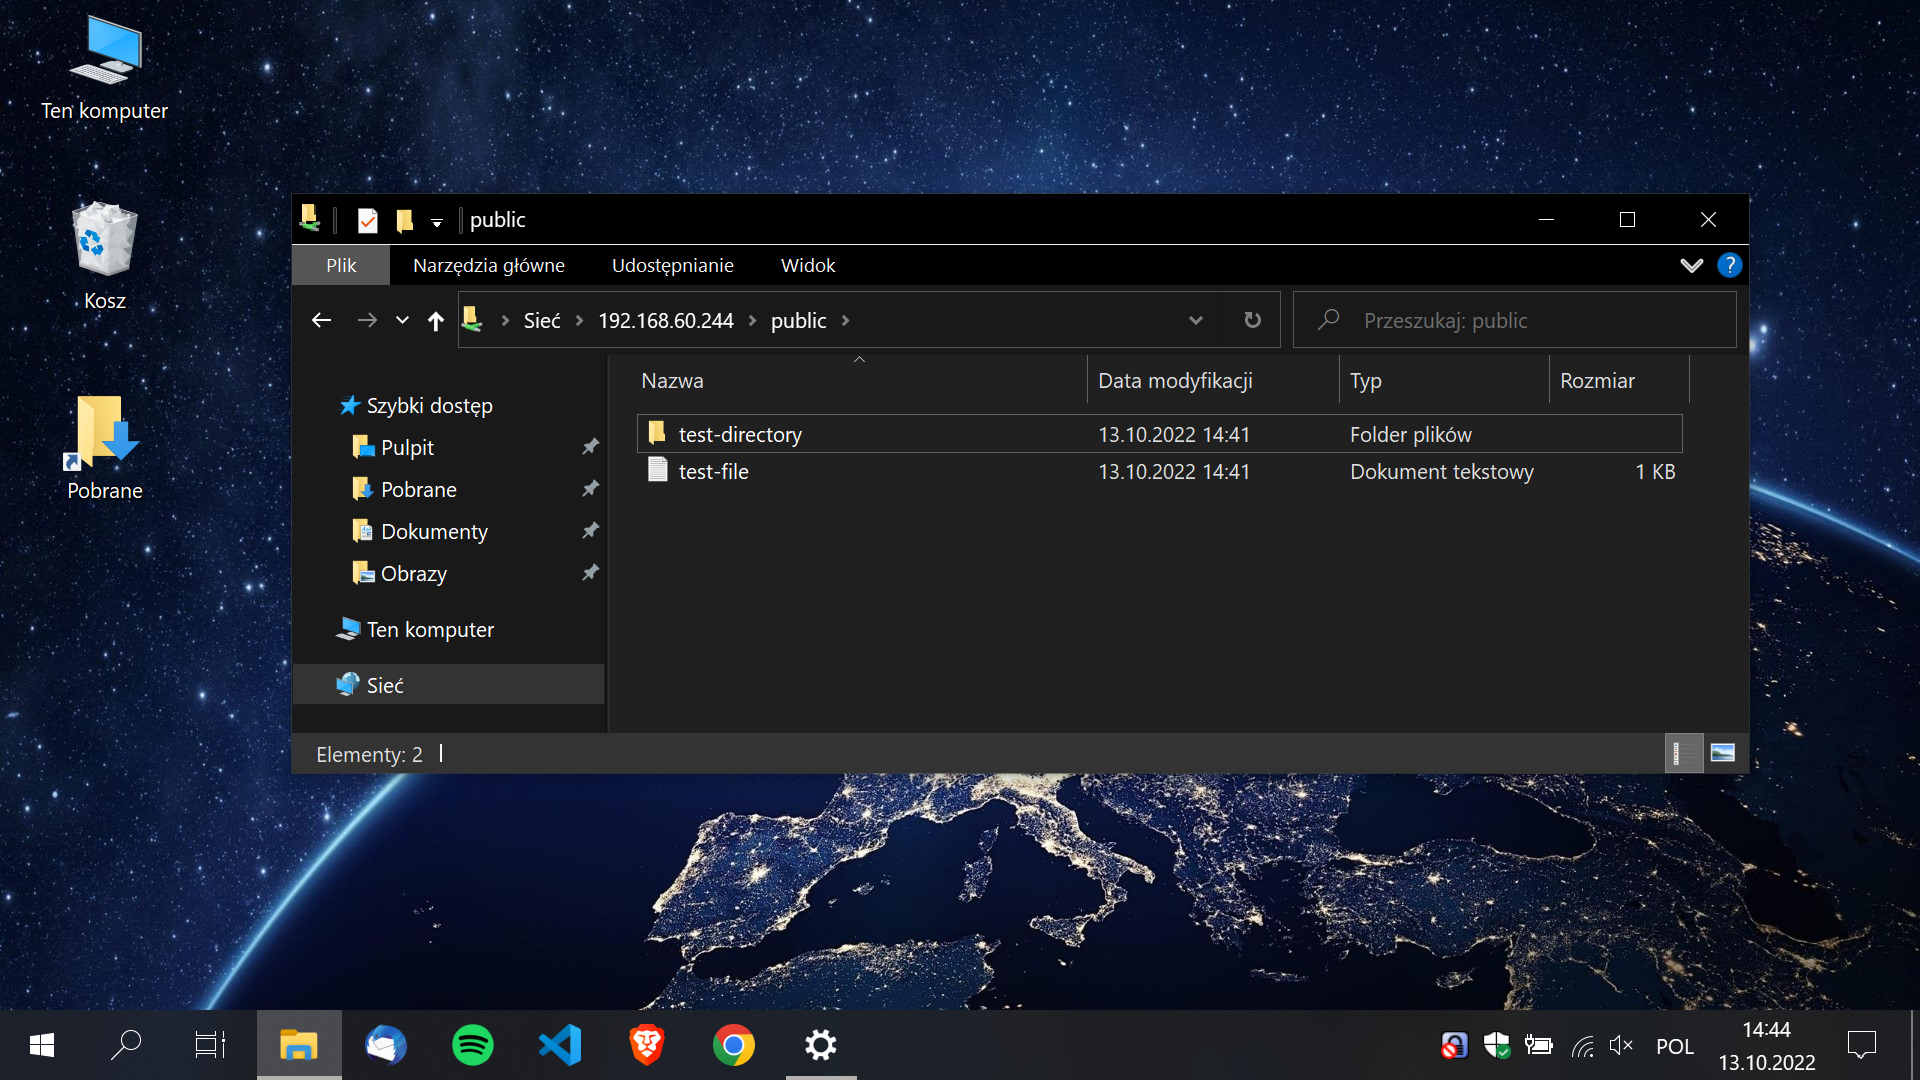
Windows share should present itselves as follows:
Samba’s secured shared directory
If you don’t want to offer such wide access to the share, you can configure Samba so that only authorized users with an account on the system have access.
As with public access, create a new directory, this time a private one:
sudo mkdir -p /samba/privateCreate a new system user share by issuing the command:
sudo useradd shareThen assign them a new system password:
sudo passwd shareand give them access to the folder:
sudo chown -R share:share /samba/privateGiving a new user a separate Samba password is done with the command:
sudo smbpasswd -a shareThen activate the user with the command:
sudo smbpasswd -e shareIt is also required to give the share the appropriate permissions via commands:
sudo chmod -R 755 /samba/private
sudo chown -R share:share /samba/private
sudo chcon -t samba_share_t /samba/private
Again, edit the smb.conf file – the Public entry should now look like this:
[Public]
path = /samba/private
read only = no
create mask = 0644
writable = yes
browsable = yes
guest ok = yes
directory mask = 2777
Finally, restart Samba with the command:
sudo systemctl restart smbNow the share user should have full access to the /samba/private share.
Summary
The obvious advantage of Samba is that the package is available free of charge and it is included by default in the repositories of EuroLinux distribution. Thanks to this, at a small cost, we can replace expensive Windows-based servers in corporate environments with Linux servers that perform the same functions.