
 2021-09-17
How to use VirtualBox
VirtualBox is a platform that allows you to run an operating system on top of another already running one. It allows us to use our favorite software even if it is not compatible with the system we use every day. Regardless of whether the application is old, new, or dependent on a particular platform. Today we will show you how to use VirtualBox.
VirtualBox is a platform that allows you to run an operating system on top of another already running one. It allows us to use our favorite software even if it is not compatible with the system we use every day. Regardless of whether the application is old, new, or dependent on a particular platform. Today we will show you how to use VirtualBox.
VirtualBox is a hypervisor, a tool that allows you to create and manage virtual machines. It can be used on both servers and consumer PCs. It supports systems such as Linux, Windows, FreeBSD, OS/2 Warp and OpenBSD. The solution is characterized by modular architecture, well-defined internal programming interfaces and client/server structure, thanks to which we can control a given program using many interfaces simultaneously – in graphical mode, from the command line or remotely. The standard tools for programmers are also useful.
When is it useful to use VirtualBox? Here are some example applications:
- the need to use software that does not run on our main system. For example, government tax software or office suites
- the desire to change system settings without risk of error
- the desire to try a new system without processes that require commitment, such as partitioning the main drive.
Installing VirtualBox on EuroLinux 8
To install VirtualBox on a EuroLinux 8 system, run the following commands:
sudo dnf groupinstall "Development Tools" -y
sudo dnf config-manager \
  --add-repo=https://download.virtualbox.org/virtualbox/rpm/el/virtualbox.repo
sudo dnf install VirtualBox-6.1 -y
VirtualBox should be ready to use.
USB devices
If we want VirtualBox to support USB devices on our system account, run the following command:
sudo usermod -a -G vboxusers $USERNext, let’s log out of all sessions (graphical and text) and log in again.
Extension Pack
VirtualBox does not support certain technologies by default, such as USB 2.0/3.0 or built-in disk encryption. If you want them to be supported, you will need an extension pack (VirtualBox Extension Pack). It has its own license.
As a quick introduction:
- individuals with no interest in using these features for profit can install the package without worry
- if it will be used for commercial purposes, you must purchase a license, regardless of whether you are an individual or a company.
Once we are confident that we can meet the licensing stipulations, let’s invoke the following commands to install the package:
export vbox_version="$(VBoxManage --version | cut -d'r' -f 1)"
wget "https://download.virtualbox.org/virtualbox/$vbox_version/Oracle_VM_VirtualBox_Extension_Pack-$vbox_version.vbox-extpack"
yes | sudo VBoxManage extpack install --replace Oracle_VM_VirtualBox_Extension_Pack-$vbox_version.vbox-extpack
What if there is no support for hardware virtualization?
Our hardware should support hardware virtualization. If it does not, you need to perform additional procedures, such as enabling this support in the BIOS settings.
Let’s check if it is enabled:
[ $(grep -cE 'vmx|svm' /proc/cpuinfo) -gt 0 ] && echo "OK"Let’s make sure that our processor has x86_64 architecture:
[ "$(arch)" == "x86_64" ] && echo "OK"If we are unable to enable virtualization support, we can use slow, software-based emulation as an alternative. According to Upstream, we will need VirtualBox version 6.0 or older:
Please also use version 6.0 if you need to run VMs with software virtualization, as this has been discontinued in 6.1.
In this case, let’s re-execute the commands used for installation, changing the version, e.g. for 6.0:
sudo dnf install VirtualBox-6.0 -yInstalling a system on a virtual machine
Let’s install another operating system in VirtualBox. For demonstration purposes, we will use an old and no longer supported EuroLinux – version 6.10.
Let’s create a new virtual machine. Let’s name it EuroLinux6.10 and select Red Hat (64-bit) from the list.
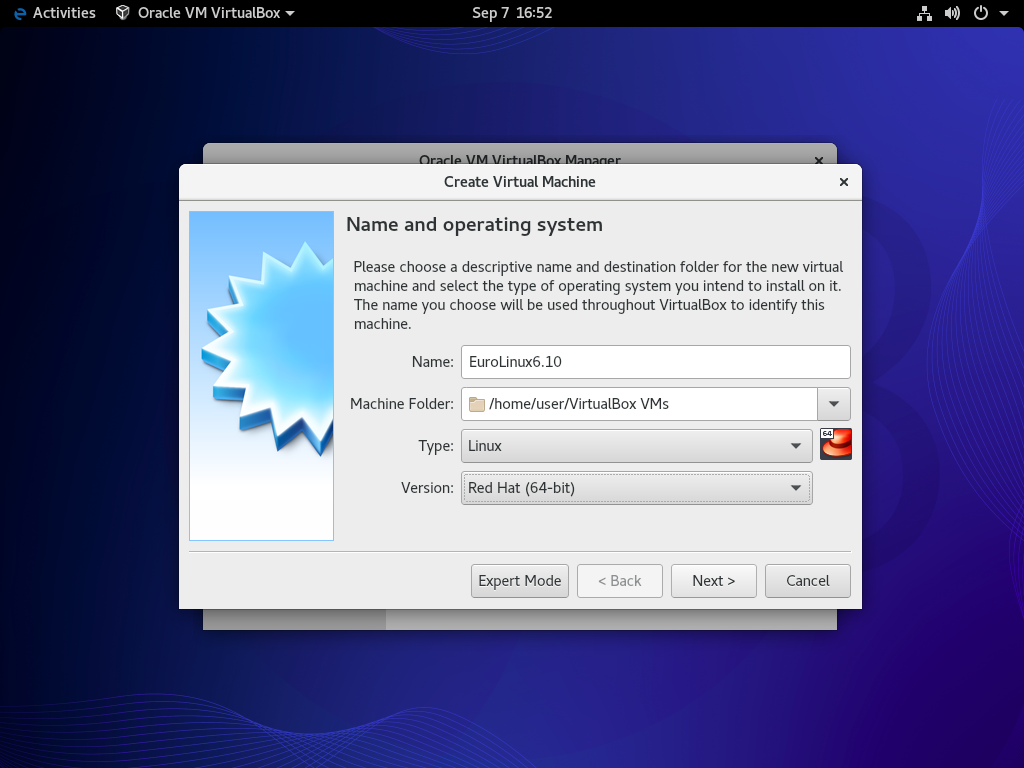
Let’s follow the wizard and use the default settings. Next, let’s open the virtual machine settings and select the installation medium.
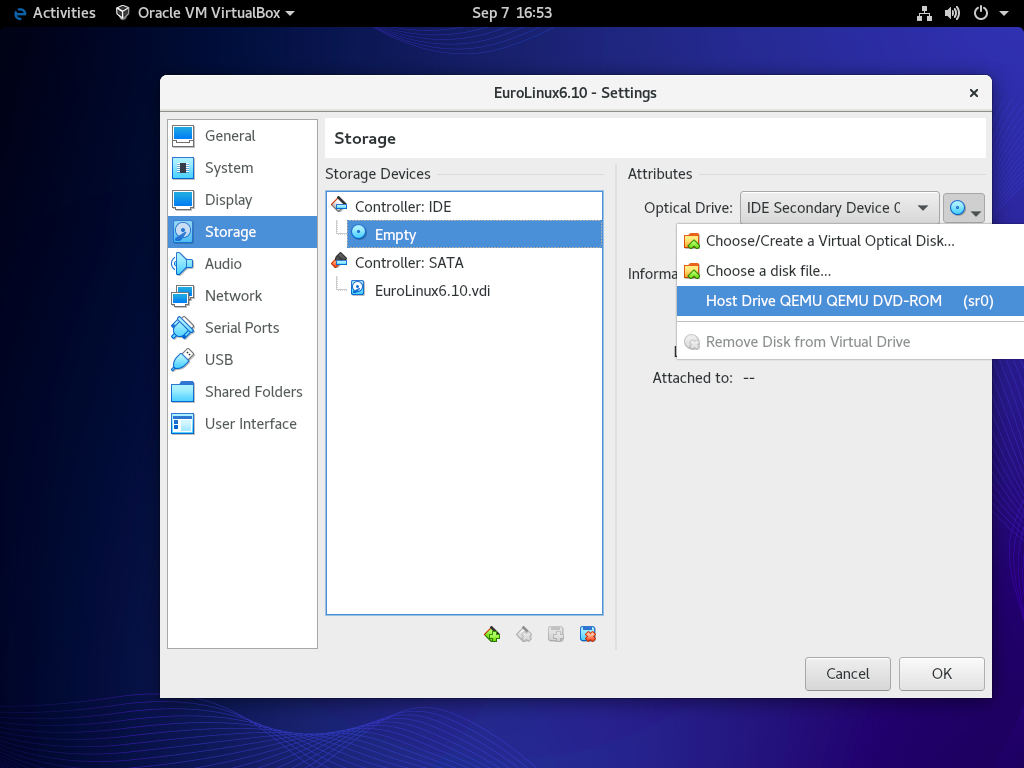
In this case, we selected the Host Drive, which means we used the optical drive of our workstation. If you have a downloaded ISO, use the Choose a disk file option to select the correct file.
The system is ready to install. Just start the virtual machine and follow the installation wizard. We can leave the default parameters, and when intervention is required, such as when the administrative password is too short, the wizard will inform us.
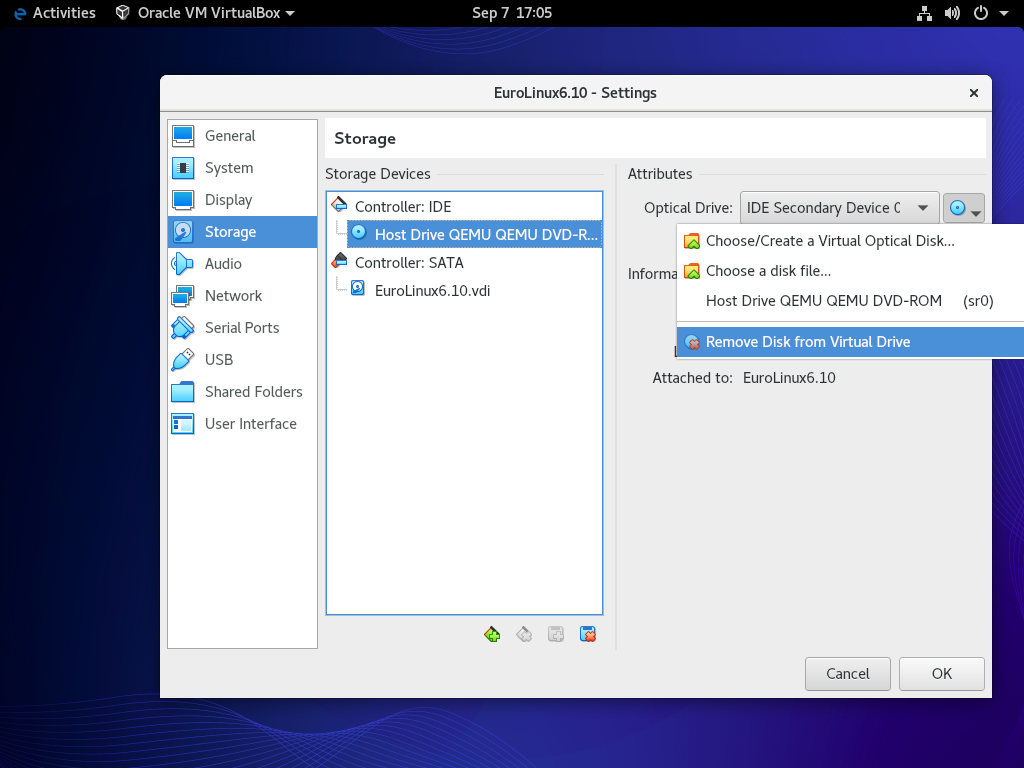
Once the system is installed, the wizard will ask you to reboot the machine. This should be done, but before doing so you will need to remove the installation medium before booting the system from disk. Let’s use the Right Ctrl + Q shortcut to bring up a dialog box that allows you to power off the virtual machine.

Next, let’s remove the installation medium.
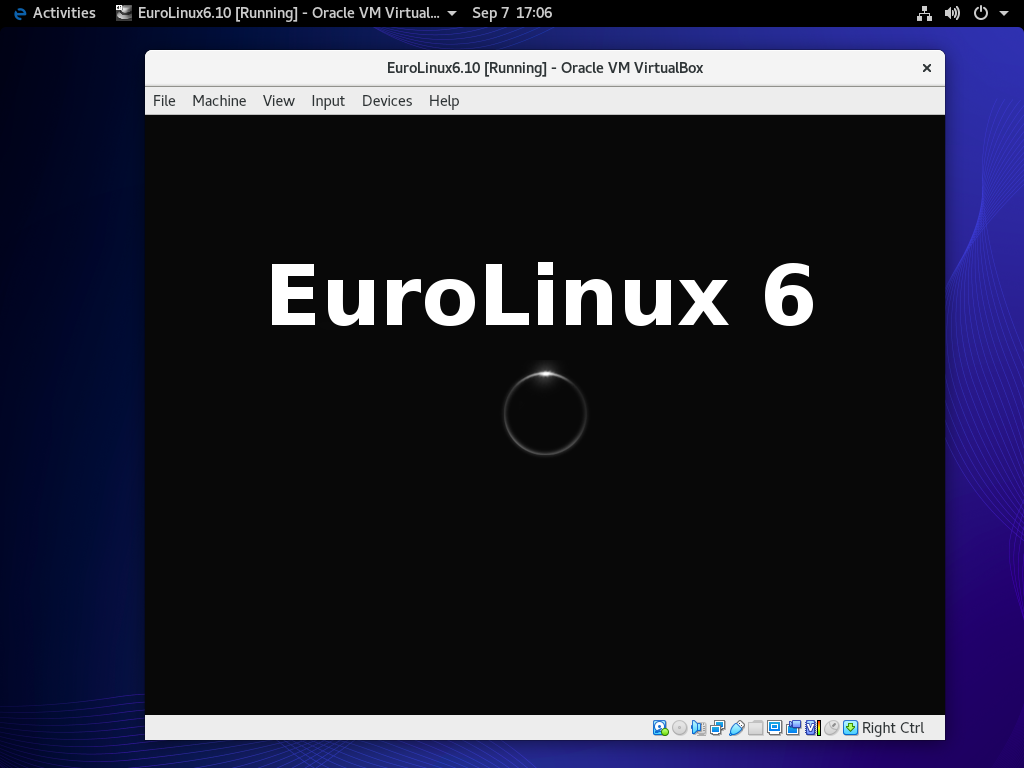
The system should now boot up smoothly.
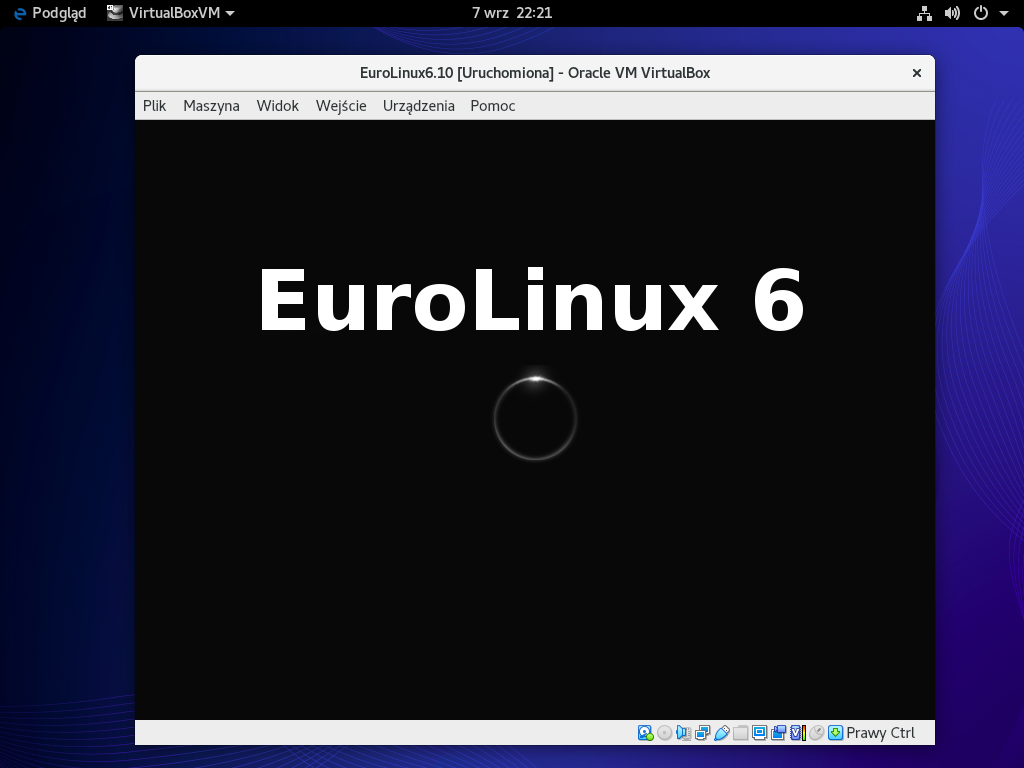
The wizard will ask for more information, such as username and password. After filling them out, we will be able to log into the desktop environment of our new system.

The result – a complete installation just waiting to run our favorite programs
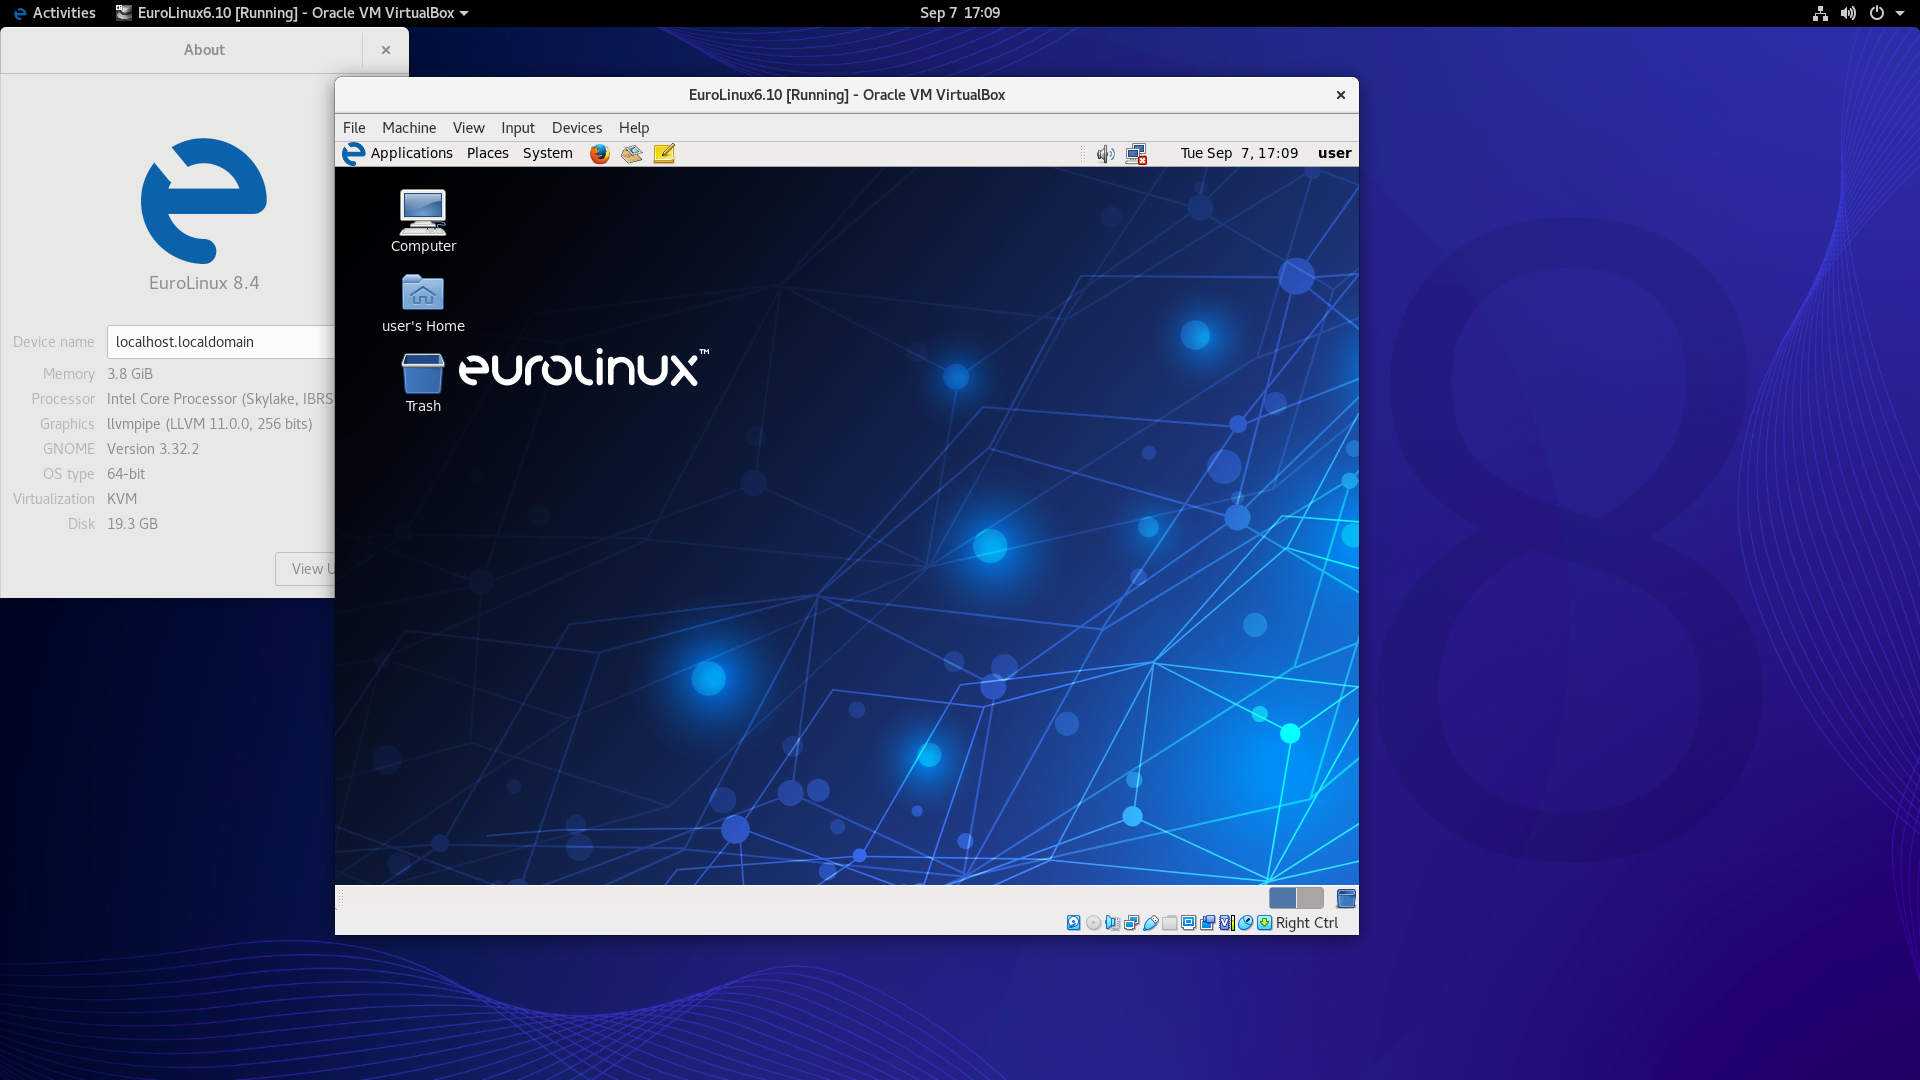
In the above example, EuroLinux 6.10 was successfully installed. However, you can use your preferred system. VirtualBox allows you to install even those from the 1990s. So if you want to feel nostalgic and use an older software stack on your modern hardware, you can always virtualize an old system on a new one, install your favorite programs and use it as your daily work tool. Likewise, if we can’t migrate our current system to a newer version, we can always use a modern technological stack, leaving our main platform untouched.